Point Cloud to Revit: Native BIM Workflow & LOD Standards
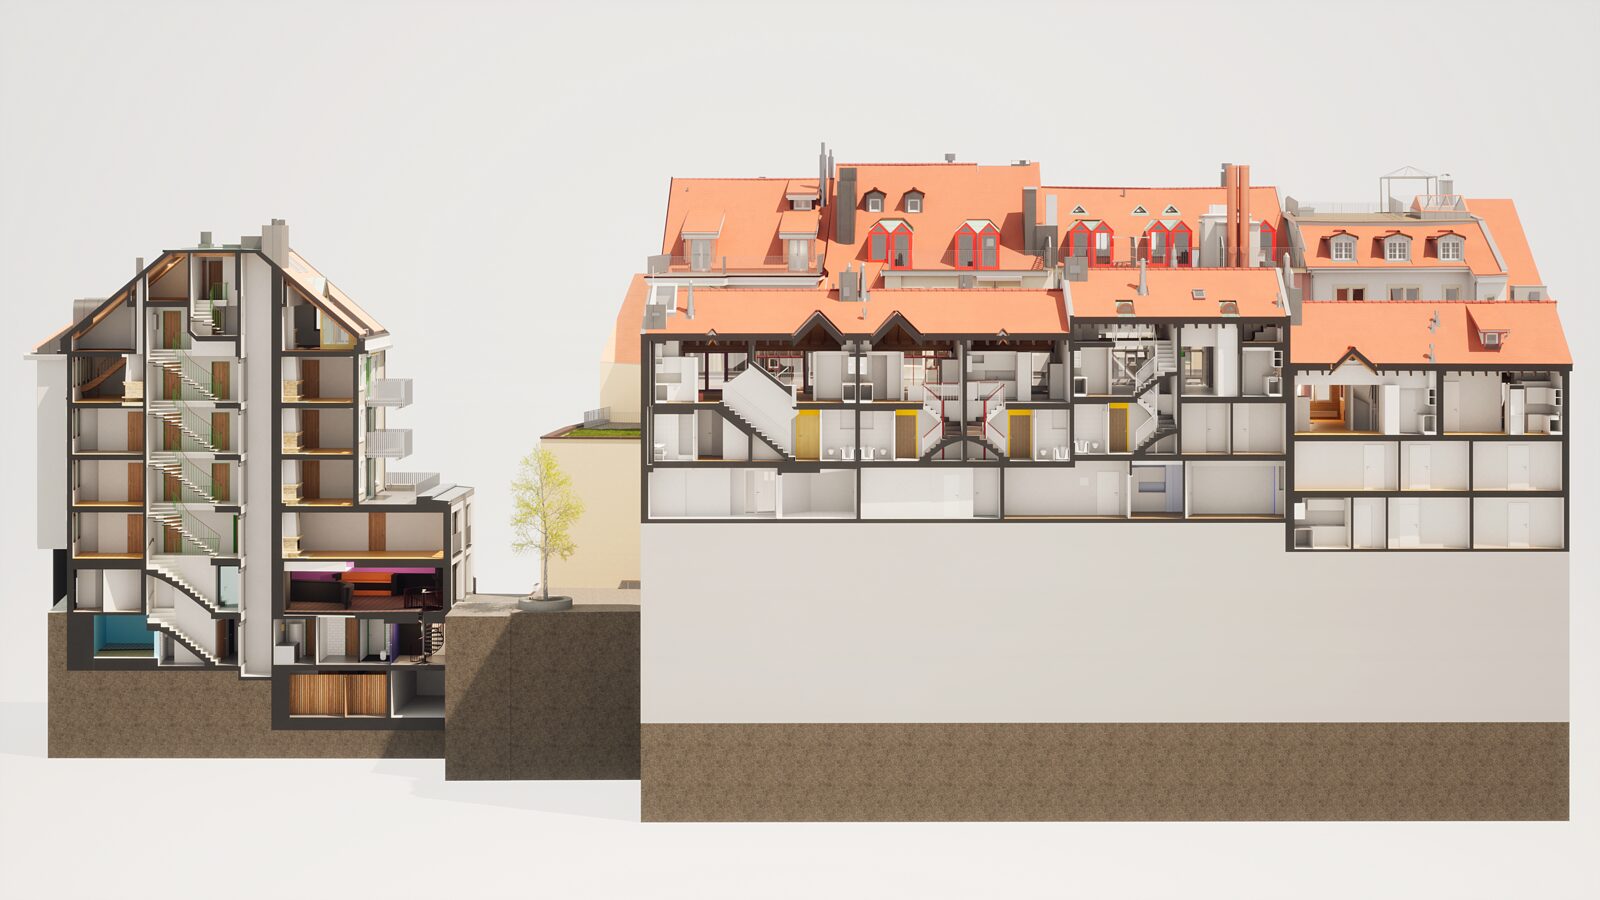
TL;DR — 3 things to know
-
01
Revit imports point clouds natively via the RCP format (Recap) — no third-party plugin required, unlike Allplan.
-
02
Native support does not mean automatic modeling — every wall, slab, and MEP element is still modeled manually against the point cloud reference.
-
03
LOD 300–350 is the practical standard for most as-built and renovation projects; LOD 400 applies mainly to fabrication and industrial work.
Revit is the most widely used BIM platform in the world, and it is one of the few applications that lets you insert a point cloud directly without a third-party add-in. That native support removes one obstacle — but it does not remove the actual modeling work. This guide covers the real workflow for turning a laser scan into a native Revit model: how the point cloud is imported and referenced, what LOD is realistically achievable, where projects typically run into trouble, and how Revit compares to Archicad and Allplan for scan-to-BIM work.
Why Revit for Scan-to-BIM?
Revit’s native point cloud support and worksharing model make it the default choice for large, multi-disciplinary teams — but that convenience comes with its own file-size and performance trade-offs.
Unlike Allplan, Revit reads point cloud files directly through Autodesk ReCap — you insert an RCP or RCS file via Insert > Point Cloud and the scan appears in the model space immediately, positioned by its embedded coordinate system. There is no conversion step and no dependency on a plugin from a third-party vendor.
That native import is the main reason firms standardized on Autodesk ask for Revit deliverables specifically: the point cloud, the model, and the coordination workflow all live inside one ecosystem — Revit for modeling, Navisworks for clash detection, BIM 360 or Autodesk Construction Cloud for collaboration. For architecture and engineering firms already running that stack, a native Revit model avoids the friction of exporting and re-importing IFC files between platforms.
VMTS Practice Note
Native import ≠ automatic modeling.
Revit lets you see the point cloud immediately, but every wall, slab, door, and duct still has to be modeled by hand against that reference — the same manual effort required in Archicad or Allplan. The native import saves setup time, not modeling time.
Point Cloud to Revit Workflow, Step by Step
Six stages, from raw scan data to a coordinated, deliverable Revit model.
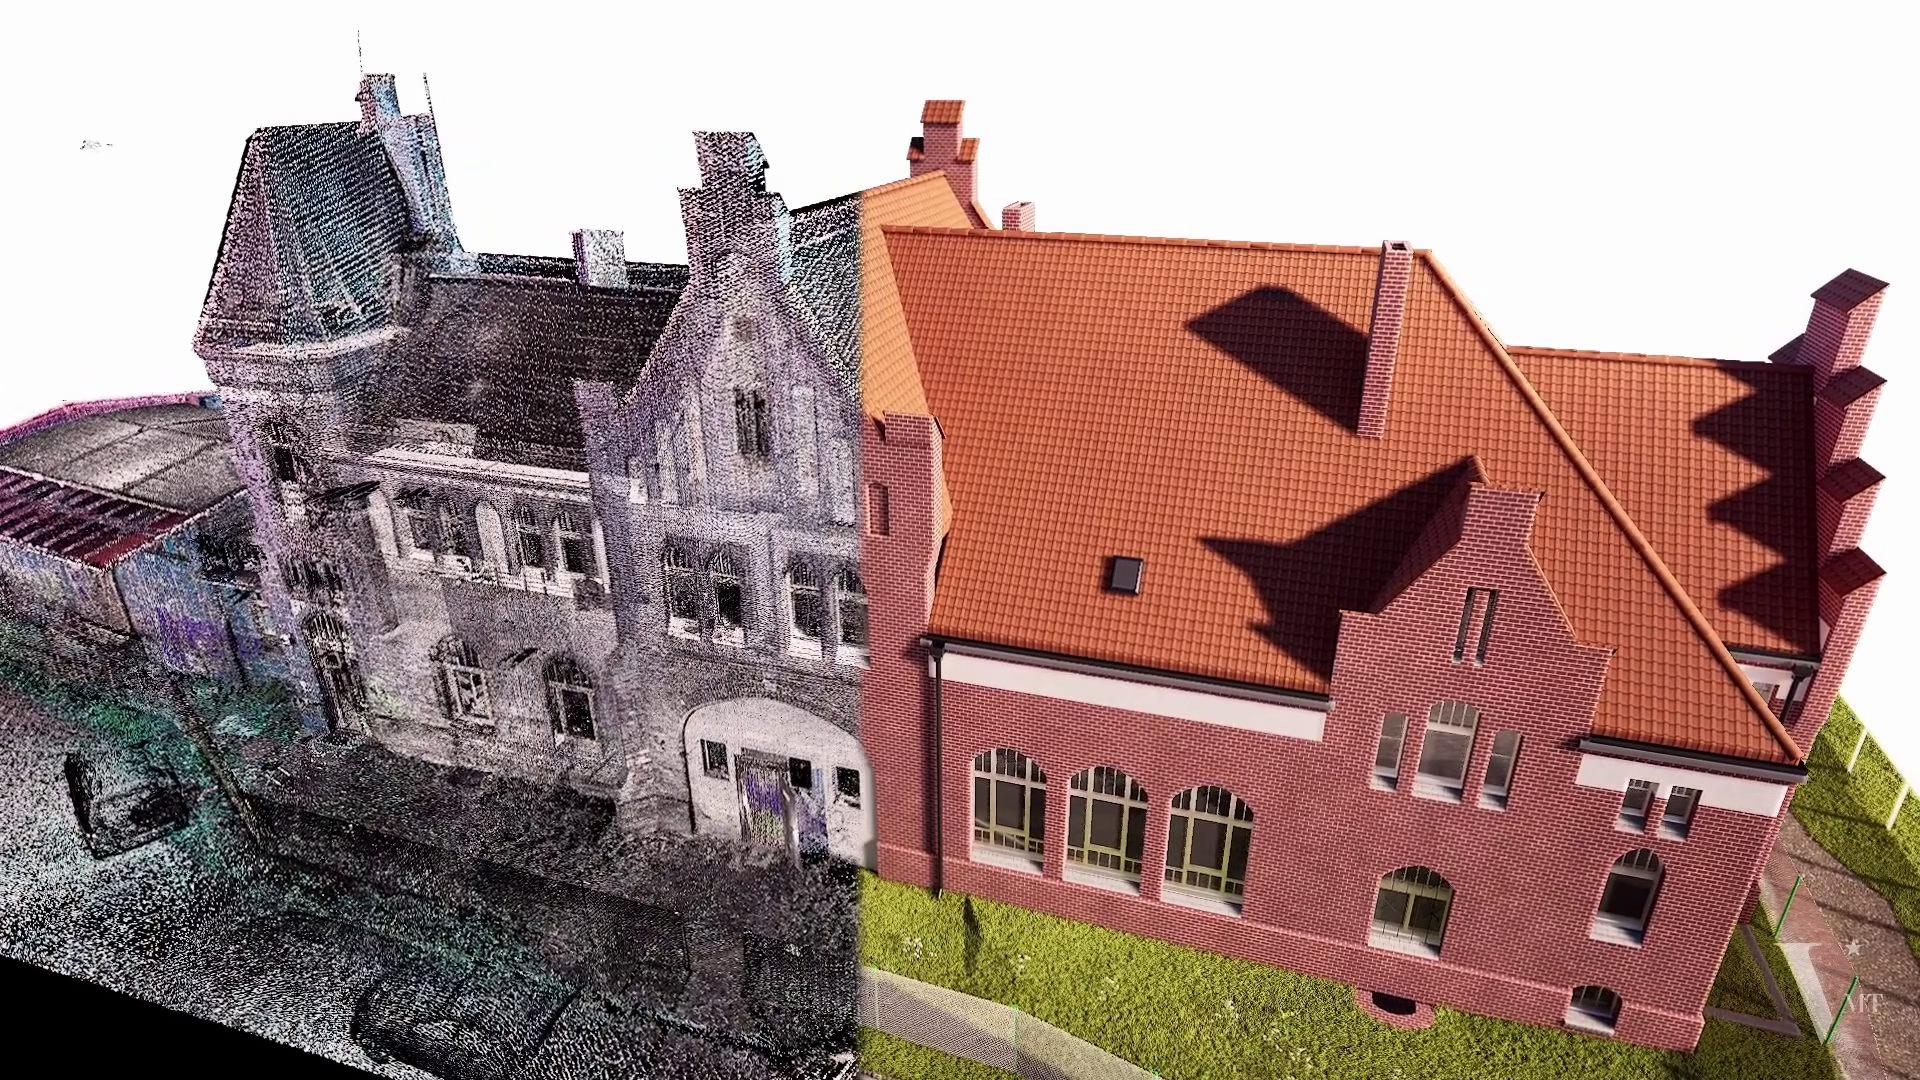
The delivered point cloud (E57, RCS, or LAS) is checked for registration accuracy, coverage gaps, and point density against the target LOD before any modeling starts.
Raw scan formats are indexed into RCP through Autodesk ReCap, then inserted into Revit via Insert > Point Cloud and linked to the project’s shared coordinate system.
Levels, grids, and the project base point are aligned to the point cloud’s coordinate system so the model matches the survey — and any later trades linking the same point cloud stay in sync.
Walls, floors, roofs, structural elements, and MEP runs are modeled as native Revit families snapped directly to the point cloud geometry, to the agreed LOD.
The finished model is checked back against the point cloud — in Revit or Navisworks — to confirm deviations stay within the agreed tolerance, and a QC report documents the result.
Delivery includes the native RVT file, an IFC export on request, and the QC report. The linked point cloud can stay in the model or be archived separately, depending on file-size preference.
VMTS Differentiator
The VMTS Difference: Point Cloud Accuracy Before Modeling
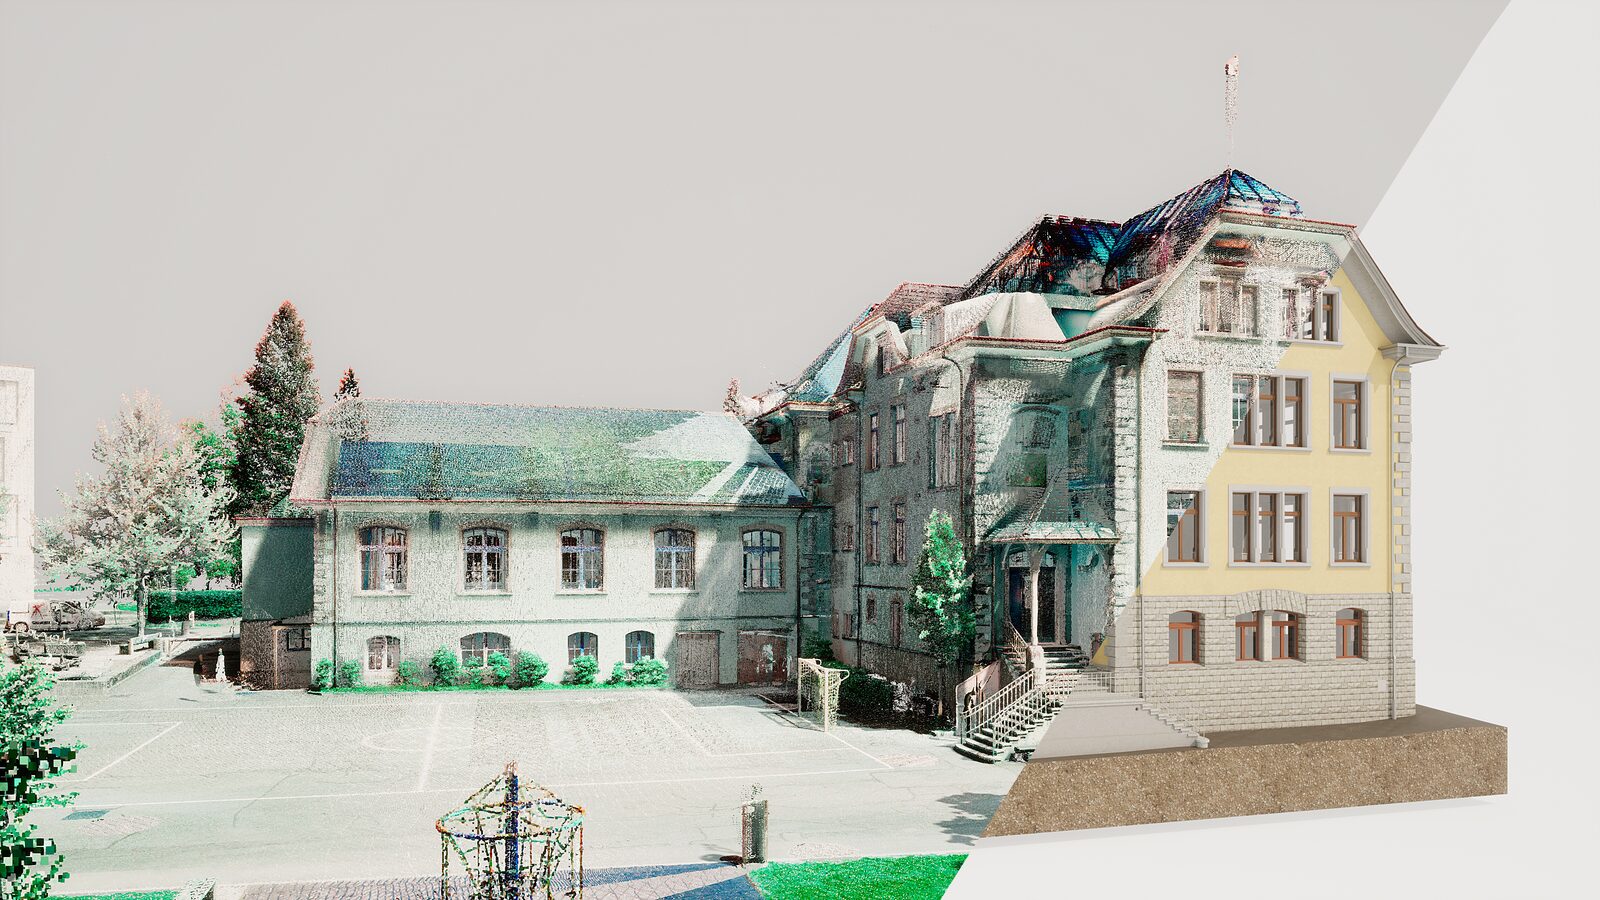
Point cloud registration deviation is the small positional mismatch that remains between overlapping laser scans after they are stitched into one combined point cloud. It happens on every registered point cloud, and if it is not checked before modeling, it transfers directly into the BIM model.
The six-step workflow above is the sequence used by most point cloud to Revit teams worldwide: import the scan, align it to shared coordinates, and model directly against the point cloud as delivered. VMTS adds one step that is frequently skipped elsewhere — a dedicated accuracy check on the point cloud itself, before a single Revit element is drawn.
Terrestrial laser scans are captured from multiple stations and then registered, or stitched together, into one combined point cloud. Registration always carries some deviation between overlapping scans, even with well-executed capture. Left uncorrected, this deviation transfers directly into the BIM model: a wall or slab modeled against a misaligned section of the point cloud inherits that same error, and the error compounds as more elements are added.
How VMTS verifies point cloud accuracy before modeling
Before modeling starts, our Geomatikers verify the registered point cloud independently of the CAD or BIM software, rather than relying solely on on-screen point-picking inside Revit, which can be visually ambiguous at edges, corners, and low-density areas:
- Cross-check: dimensions are verified using our own in-house measurement method, developed independently of the modeling software
- Detect: registration deviation across the point cloud is identified, in most cases down to a few millimeters
- Report: the exact location of each discrepancy is documented and sent to the client before modeling begins
- Correct: the point cloud is corrected at the source, so the error never reaches the Revit model
Point cloud accuracy is verified before modeling, not after.
Every registered point cloud passes an independent measurement check before a single element is modeled in Revit. Deviations are quantified and reported by location, so corrections happen at the source, not in the finished model.
Clients are often surprised by this step. Being shown precisely where a point cloud has shifted by a few millimeters, with the chance to correct it at the source rather than discover it later in a coordination clash, is not part of the standard point cloud to Revit workflow used elsewhere. For VMTS, it is a standard part of every project, and it is the main reason our Revit models hold up under close inspection at LOD 300 and above.
LOD Standards in Revit: What Is Realistically Achievable?
LOD — Level of Detail or Level of Development — describes how precise and information-rich a Revit element is. For point cloud to Revit projects, the following benchmarks apply:
| LOD | Content | Typical Use Case |
|---|---|---|
| LOD 200 | Generic massing families, approximate dimensions | Early-phase design, feasibility, rough cost estimation |
| LOD 300 | Element-accurate geometry, real dimensions, complete openings, correctly hosted Revit families | As-built documentation, renovation and permit planning |
| LOD 350 | As LOD 300, with element-to-element relationships and connection details for other trades | Coordination model, interdisciplinary MEP/structural work |
| LOD 400 | Fabrication-relevant accuracy, manufacturer-specific families, full detail geometry | Industrial projects, MEP fabrication, complex or historic geometry |
For most as-built surveys and renovation projects, LOD 300 is the practical standard, with LOD 350 added where MEP or structural coordination is required. As with any scan-to-BIM platform, the achievable LOD in Revit is capped by the quality of the underlying point cloud — no amount of modeling effort recovers detail that was never captured in the scan. For how the level of detail differs by component group, see our Level of Detail matrix (LOD 100 to 400).
Common Challenges When Modeling from Point Cloud in Revit
Common challenges
- —Large RCP files slow down the central model, especially on shared/worksharing projects
- —MEP clash detection against as-built conditions surfaces conflicts late if the scan wasn’t reviewed first
- —Revit version mismatches between the modeling team and the client’s office standard
- —Incomplete scan coverage behind fixtures, in shafts, or under suspended ceilings
How VMTS handles it
- ✓Point clouds are region-cropped and workset-assigned so only relevant areas load per discipline
- ✓Registration and coverage are reviewed before modeling — gaps are flagged early, not discovered mid-project
- ✓We deliver in the client’s specified Revit version and document any conversion required
- ✓Assumptions for incomplete areas are geometrically plausible and transparently noted in the QC report
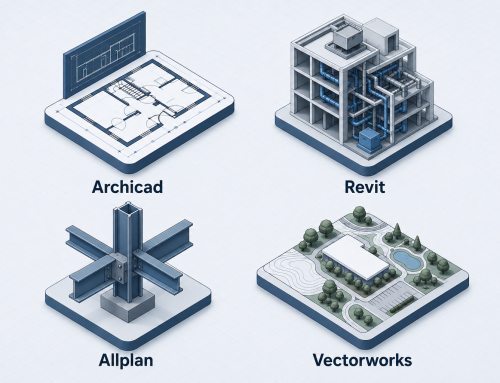
Revit vs Archicad vs Allplan: Which Platform Fits Your Project?
All three platforms can deliver accurate native models from a point cloud. The right choice usually comes down to your team’s existing software standard and project type, not which platform is technically “better.”
When Revit fits best
- Your firm is already standardized on the Autodesk ecosystem (Navisworks, BIM 360/ACC)
- Large, multi-disciplinary teams need worksharing on a single central model
- The project is MEP-heavy and requires close coordination between trades
- Deliverables are expected in North America, the UK, or other Revit-standard markets
When Archicad or Allplan fits best
- Your office is based in the DACH region, where both platforms are the market standard
- The project is architecture-led rather than MEP-heavy
- You need fast, lighter-weight native modeling for a single-discipline renovation or heritage project
- Your downstream workflow (permit submission, quantity take-off) is already built around Archicad or Allplan templates
“You scan — we handle everything downstream, from point cloud to native model, in the platform your team actually uses.”
VMTS as Your Revit Modeling Partner
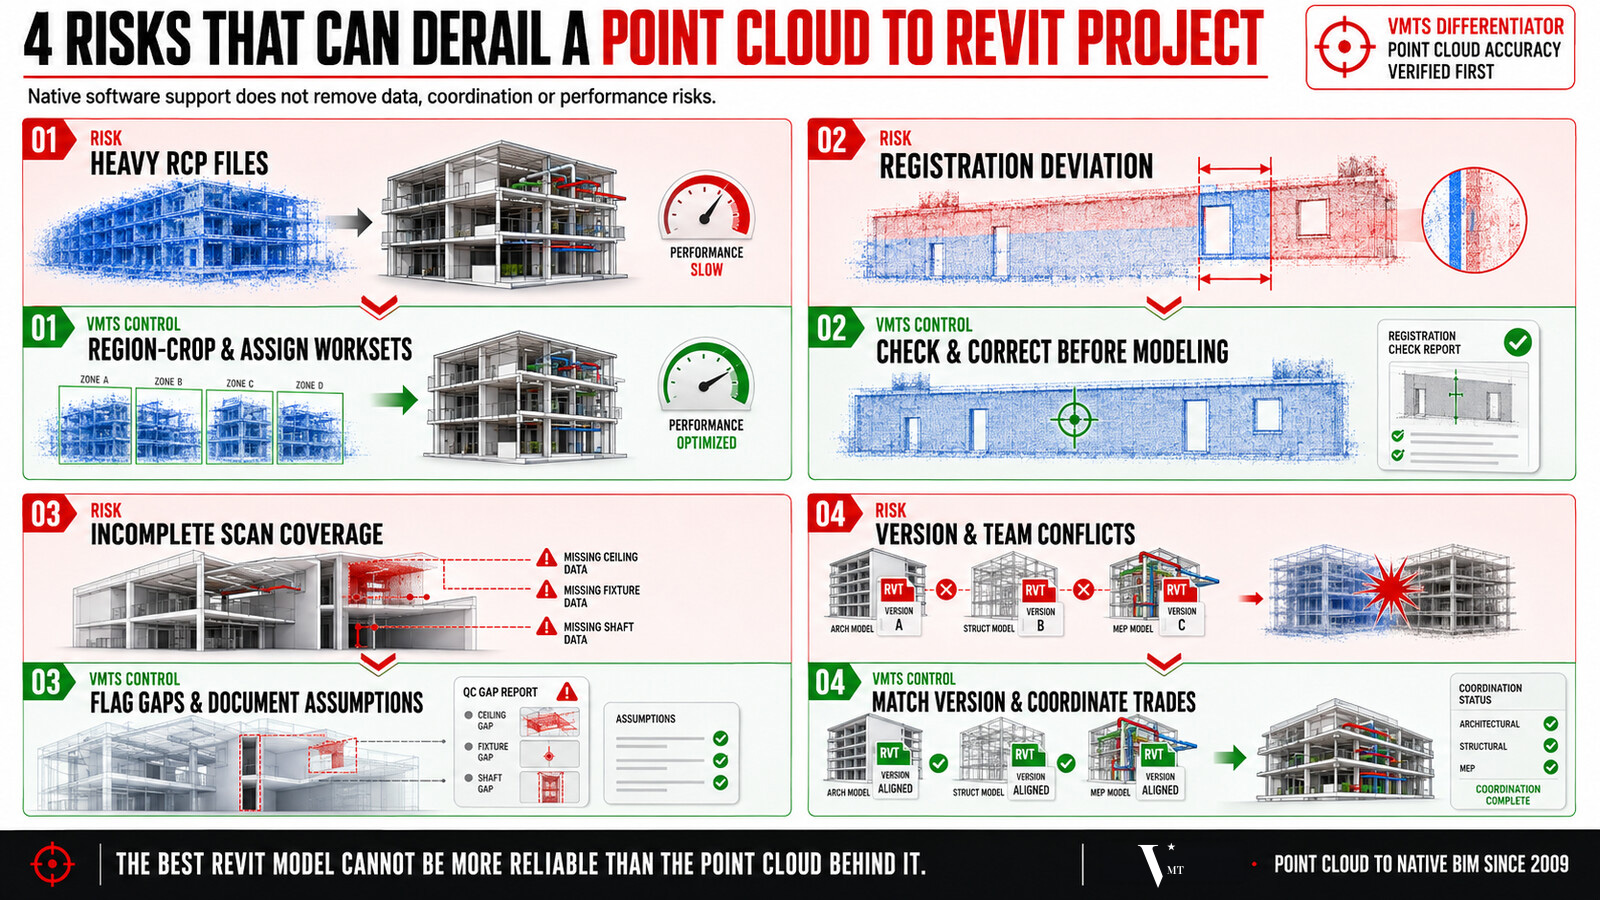
VMT Solutions has modeled point cloud data natively across Revit, Archicad, Allplan, and Vectorworks since 2009, for surveying offices, architecture firms, and engineering companies worldwide. Every Revit deliverable is modeled to the agreed LOD, checked against the point cloud in a documented QC pass, and handed over as a fully editable, worksharing-ready RVT file — not a generic IFC import.
Read more about our broader Scan-to-BIM services, or see the full Scan-to-BIM Complete Guide for a platform-by-platform comparison and LOD reference across Revit, Archicad, Allplan, and Vectorworks.
Frequently Asked Questions
Can point cloud data be imported directly into Revit?
Yes. Revit imports point clouds natively through Autodesk ReCap using the RCP or RCS format — no third-party plugin is required. This is a key difference from platforms like Allplan, which need additional tools to work with point cloud data.
What LOD is achievable when modeling from a laser scan in Revit?
LOD 300 is the practical standard for most as-built and renovation projects. LOD 350 adds coordination detail between trades, and LOD 400 applies to fabrication-level or industrial work. The achievable LOD always depends on the quality and completeness of the source point cloud.
What point cloud formats does Revit accept?
Revit works with RCP and RCS files generated through Autodesk ReCap. Common scan formats such as E57, LAS, and PTS are converted and indexed into RCP before being inserted into the Revit project.
How is a native Revit model different from a generic IFC conversion?
A native Revit model is built from the start using real Revit families, worksets, and parametric relationships — fully editable in Revit with no relinking required. An IFC import is typically less flexible: geometry may not be parametric, and attribute data can be incomplete or disconnected from the original modeling logic. See IFC, COBie and ISO 19650: BIM Deliverables Explained for how these formats and standards fit together.
Is outsourcing point cloud to Revit modeling cost-effective?
For most firms, yes — especially when point cloud projects come in occasionally rather than as a constant workload. Outsourcing avoids the cost of licenses, training, and the learning curve of large-scale point cloud modeling, while typically delivering faster turnaround than building the capability in-house.
Which deliverables come with a VMTS Revit project?
Every project includes the native RVT file at the agreed LOD, an IFC export on request, and a QC report documenting deviations against the source point cloud. Delivery is coordinated to match your Revit version and worksharing setup.
Work with VMTS
Have a point cloud and need a native Revit model?
Describe your project — we respond within one business day with an initial assessment.
Nguyen Huynh (Rainer)

About the Author:
Nguyen Huynh (Rainer) is Managing Director at VMT Solutions, specializing in Point Cloud to BIM workflows for surveying, planning, and engineering offices. He focuses on precise BIM models, clearly defined quality standards, and long-term technical partnerships.
Share This Story!
Related Posts


Recent Posts





We are proud to have
satisfied customers.

 Gerd Gindullis, Lecturer for digital as-built data capture at Aachen University of Applied Sciences, TerraMeta 3D Laser Service
 Stefan Schramm, Architekt Stefan Schramm
„Your plans are perfect; I’ve never seen anything like this before. These are drawings of the highest quality, I must say. I want to express my sincere thanks once again for your work.“
 Endre Szokolai, Digitalplan-Szokolai
VMT modeled a large industrial building in 3D for our research project. We provided DWG plans to VMT, and they delivered a highly detailed model, including the building envelope, interior walls, openings, and stairs. We had previously contracted a German company for the same object, but unfortunately, it didn’t work out. I was relieved and pleased that VMT handled it so reliably. Thank you for the excellent work and the truly fair price!

Very reliable company, courteous staff, and top-quality work. Our plans were created quickly and accurately. Thank you for that. Highly recommended.

Excellent advice and high 3D modeling quality at a great price-performance ratio… What more could you want? I can highly recommend them…